How to Change the Dimension of an Image (Complete Guide)
Images are used everywhere today. Websites, blogs, online stores, social media platforms all depend on images to attract visitors. A good image can make content more interesting and professional. But sometimes the size of an image does not fit the place where you want to use it.
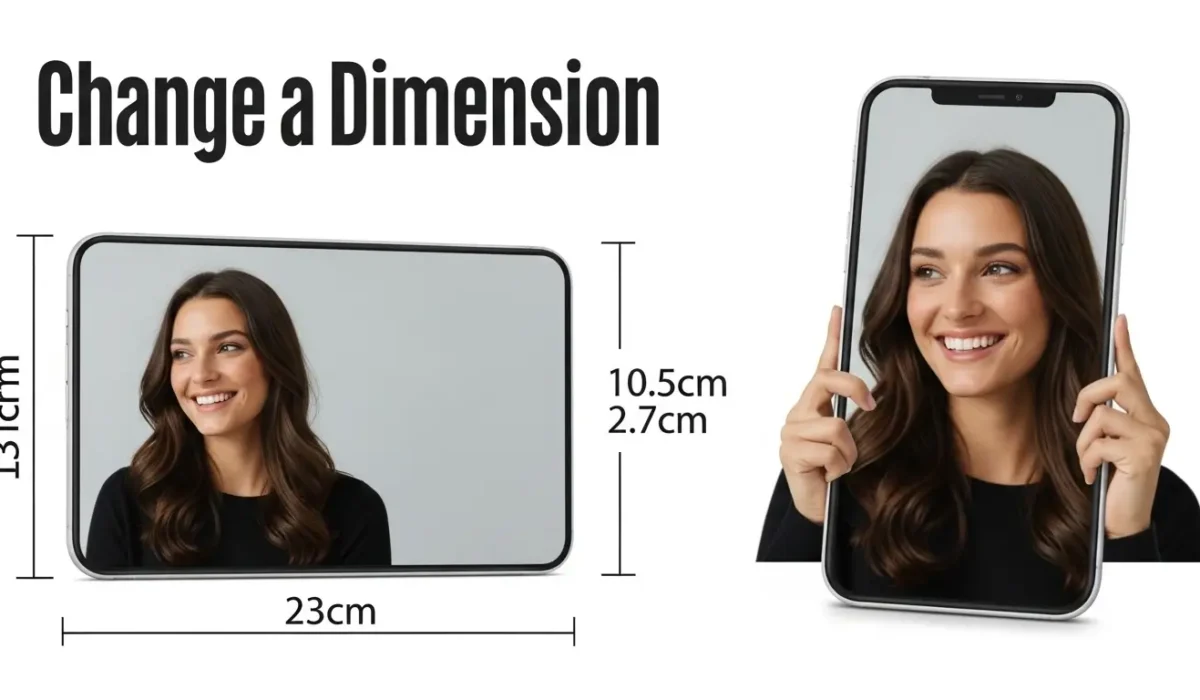
Changing image dimensions means adjusting the width and height of the image so it fits your needs. This process is also called image resizing. In this guide, you will learn what image dimensions are, why they matter and how to change them easily using different methods.
Ways to Change Image Dimensions
There are several methods to resize an image. You can use online tools, editing software, or even built-in features on your device.
Let’s look at the most common methods.
Method 1: Use an Online Image Resizer
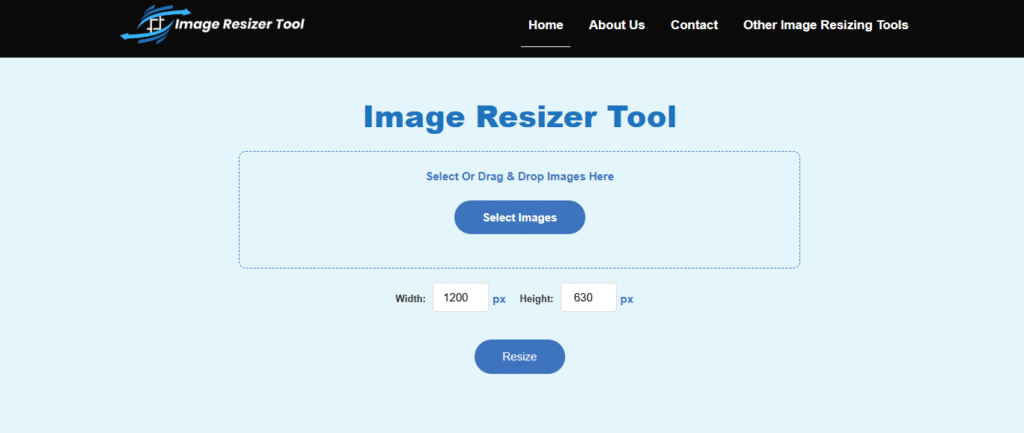
The easiest way to change image dimensions is by using an online image resizing tool. Online tools work directly in your browser, so you do not need to install any software. They are fast and beginner friendly. One of the easiest tools available today is ImageResizer.tools.
Image Resizer Tool
ImageResizer Tool is one of the easiest and fastest image resizing tools available in 2026. It is designed for people who want to resize images quickly without complicated steps.
You simply upload your image, select the size and download the resized image instantly.
Steps to Resize an Image Using an Online Tool
-
Open the image resizer website
-
Upload the image you want to resize
-
Enter the new width and height
-
Click the resize button
-
Download the resized image
The process usually takes only a few seconds.
Benefits of Online Image Resizers
-
No software installation required
-
Very easy to use
-
Works on any device
-
Fast processing
-
Saves time
This method is perfect for beginners.
Method 2: Resize an Image Using Photoshop
Photoshop is a popular image editing program used by designers and photographers. It allows very precise control over image dimensions.
Steps
-
Open the image in Photoshop
-
Click Image in the top menu
-
Select Image Size
-
Enter the new width and height
-
Click OK
Photoshop will resize the image while maintaining good quality.
Advantages
-
Professional quality results
-
Advanced editing options
-
Control over resolution and quality
However, Photoshop is paid software and may be too complex for beginners.
Method 3: Resize Images Using Built-in Computer Tools
Most computers include basic image editing tools that allow simple resizing.
On Windows
You can use Microsoft Paint.
Steps:
-
Open the image in Paint
-
Click Resize
-
Choose percentage or pixel dimensions
-
Save the image
On Mac
You can use Preview.
Steps:
-
Open the image in Preview
-
Click Tools
-
Select Adjust Size
-
Enter new dimensions
These built-in tools work well for quick resizing tasks.
Method 4: Resize Images Using Mobile Apps
Smartphones also provide many apps that allow image resizing.
Examples include:
-
Photo editing apps
-
Image compressor apps
-
Graphic design apps
Many of these apps allow you to resize images directly from your phone gallery. This is helpful for social media users who upload images from their phones.
Best Image Sizes for Common Uses
Here are some commonly used image dimensions for different platforms.
1. Website Blog Images
Recommended width: 1200 pixels
2. Instagram Post
Recommended size: 1080 × 1080 pixels
3. Facebook Cover Photo
Recommended size: 820 × 312 pixels
4. YouTube Thumbnail
Recommended size: 1280 × 720 pixels
5. Website Banner
Recommended size: 1920 × 600 pixels
Resizing images according to these dimensions helps them display correctly.
Tips to Maintain Image Quality When Resizing
Sometimes resizing an image can reduce quality. Here are some tips to prevent that.
1. Avoid Enlarging Small Images
Making a small image larger can cause blur and pixelation.
2. Keep the Aspect Ratio
Aspect ratio is the relationship between width and height.
Keeping the same ratio prevents the image from looking stretched.
3. Use High Quality Images
Starting with a high resolution image gives better results after resizing.
4. Use Reliable Tools
Good tools maintain image clarity during resizing. Online tools like ImageResizer tool are designed to resize images quickly while keeping the quality intact.
Difference Between Resizing and Cropping
Many people confuse resizing and cropping, but they are different.
Image Resizing
-
Changes the dimensions of the entire image
-
Makes the image smaller or larger
Image Cropping
-
Removes unwanted parts of the image
-
Focuses on a specific area
Both tools are useful depending on what you want to achieve.
Common Image Formats
When resizing images, you may also encounter different file formats.
JPEG / JPG
-
Most common image format
-
Good for photographs
-
Smaller file size
PNG
-
High quality images
-
Supports transparent background
-
Larger file size
WebP
-
Modern format used on websites
-
Smaller file size with good quality
Most image resizing tools support these formats.
When Should You Resize an Image?
You should resize images in many situations.
For example:
-
Before uploading images to a website
-
Before posting on social media
-
Before sending images by email
-
Before adding images to online stores
-
Before creating website banners
Resizing ensures that images fit perfectly wherever they are used.
What Happens When You Resize an Image?
When you resize an image, two main things may change:
1. Image Dimensions
The width and height change to a new size.
Example:
-
Original image: 4000 × 3000 pixels
-
Resized image: 1200 × 900 pixels
2. File Size
Usually the file size becomes smaller after resizing.
For example:
-
Original image: 8 MB
-
Resized image: 500 KB
This helps websites and applications run faster.
Final Thoughts
Changing the dimension of an image is a simple but important task. It helps improve website speed and reduce file sizes.There are many ways to resize images. You can use online image resizing tool, editing software, built-in computer tools or mobile apps. For most users, online tools are the easiest option. Image Resizer is one of the easiest and fastest image resizing tools available in 2026. It allows users to resize images quickly without complicated settings. You simply upload the image, select the new size, and download the resized image in seconds.
Frequently Asked Questions (FAQs)
- Can I resize an image without losing quality?
Yes, if you are making the image smaller. However, making a small image larger will usually result in a blurry or “pixelated” look. - What is the “Aspect Ratio” and why does it matter?
It is the proportional relationship between width and height. Maintaining this ratio prevents your image from looking stretched or squashed when you change its size. - Does resizing an image reduce the file size?
Yes. Reducing the pixel dimensions (e.g., from 4000px to 1200px) significantly shrinks the file size (MB to KB), which helps your website load faster. - What is the best format for resizing: JPEG or PNG?
Use JPEG for photographs to keep file sizes small. Use PNG if you need a transparent background or the highest possible detail. - Is there a limit to how many images I can resize?
Most built-in tools and online resizers like ImageResizer.tools allow you to resize as many images as you need. Some online tools even offer “bulk resizing” to save time. - Can I resize images on my smartphone?
Yes. You can use your phone’s built-in “Edit” tool in the gallery, or use an online tool directly in your mobile browser without installing an app. - What size should I use for a standard website image?
For most blog posts and web pages, a width of 1200 pixels is the gold standard. It looks sharp on desktops while loading quickly on mobile devices.